Translations in CRM – Part I
In CRM, you can enable multiple languages. To enable the languages on premise, you have to install them on the server first.
Then you can enable the languages via Settings > Administration > Languages.
After you have enabled you preferred languages, you can export the translations of you fields. Therefore you navigate to Settings > Customizations > Customize the System. This will open a new Windows, where you customize your system. In the menu bar, you’ll find the button Translations. Click on it and select “Export Translations”.
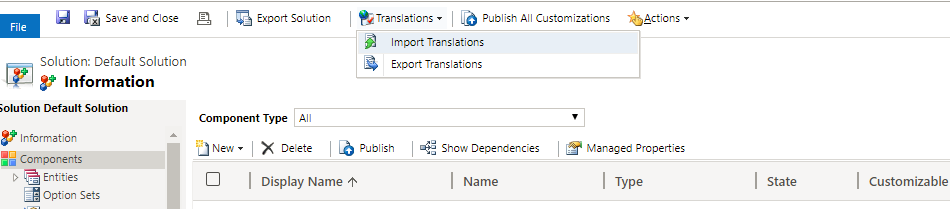
This will export all your field translations of the whole crm and will take some time. If you only want to export the field translations of a specific entity, like the account, you have to create a new solution, add the specific entities and export the translation of this solution.
After downloading the translations, you have to unzip the file, open the folder and open the file “CrmTranslations.xml” with excel. There you have three worksheets:
- Information: Just a short summary
- Display Strings: there you find translations for error text messages and navigation properties
- Localized Labels: translations of you fields like email, modified on, …
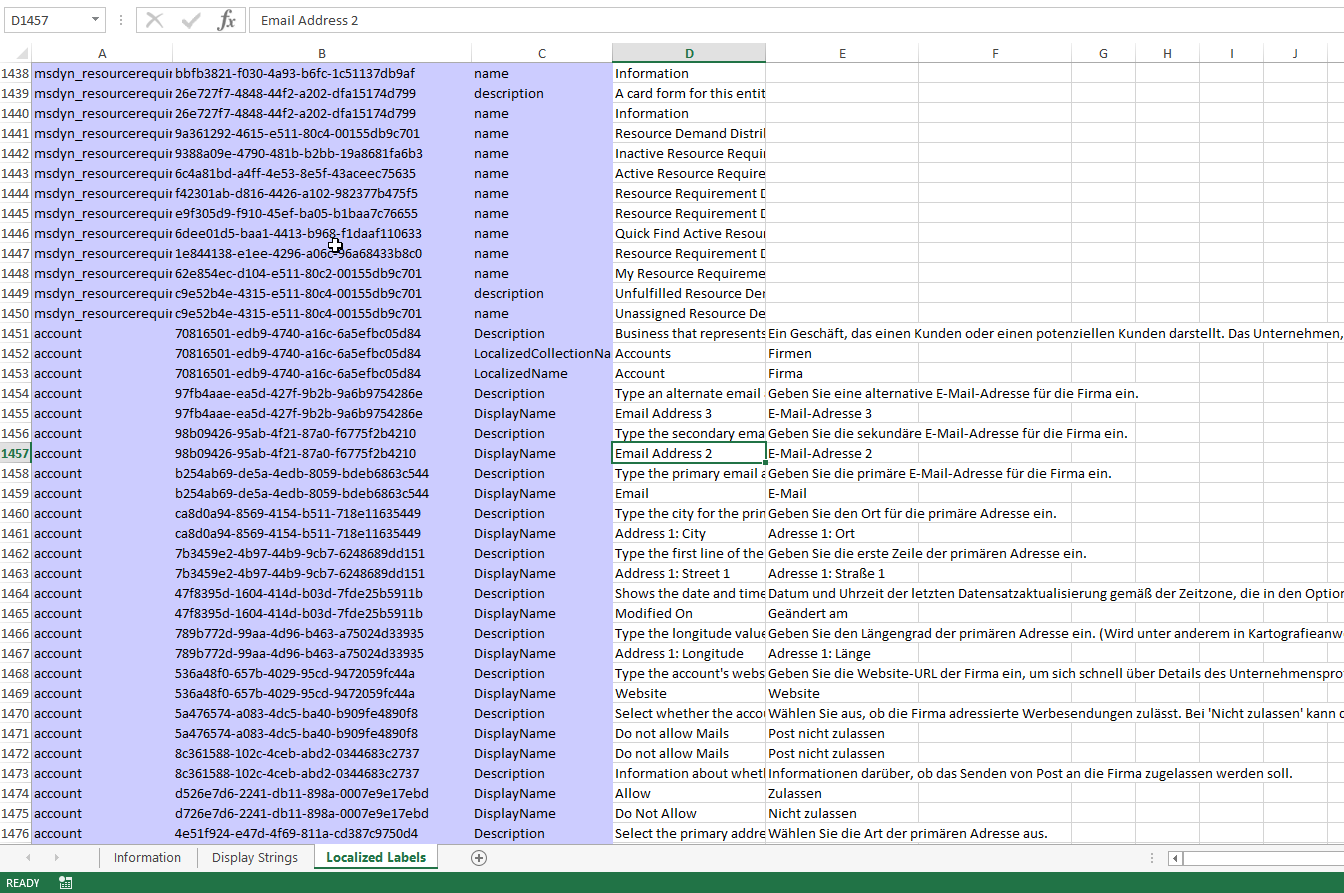
The first row contains also fields with the content 1033, 1031, … This are the numbers of the languages of Microsoft. You can find the mapping for the languages on the following page: https://msdn.microsoft.com/de-de/library/ms912047%28v%3Dwinembedded.10%29.aspx
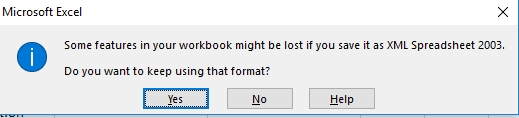
Now add the required translations in the correct column and save the file. Keep the current format, if excel is asking you for that.
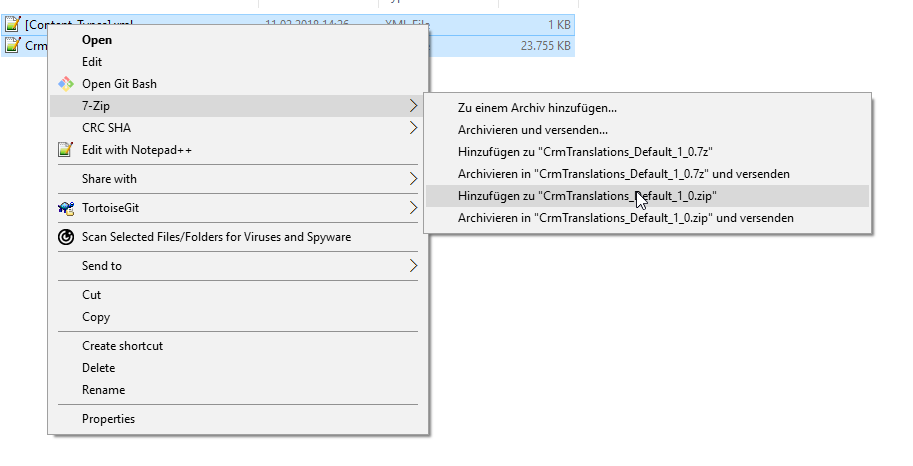
Now, select the xml-files “[Content_Types].xml” and “CrmTranslations.xml” and add them to a new zip-archive.
Switch back to CRM and your customizations, select Translations and “Import Translations”. Now select you new zip-archive and import it. After the import, publish your changes and your translations will be visible in your form.
In some of the older CRM-Version, you might get an error, that there are duplicates. Therefore, check if any of your entities has the same Display Name. This will cause the error during the export.
If you are still having issues with the translation, I can recommend you the XrmToolBox and the plugin EasyTranslate, that can be found here https://www.xrmtoolbox.com/plugins/MsCrmTools.Translator/
With this add-on, you can export your translations to excel and import them again. It’s not that fast, than importing it with the CRM solution, but you can avoid errors and also change the logic in the code, if you need it.